
Voice Tip Settings
Supertip Voice Tips let your viewers purchase text-to-speech audio tips using customized speaker voices. To open your Voice Tips settings, go to the Creator Dashboard and select Settings > Voice Tips.
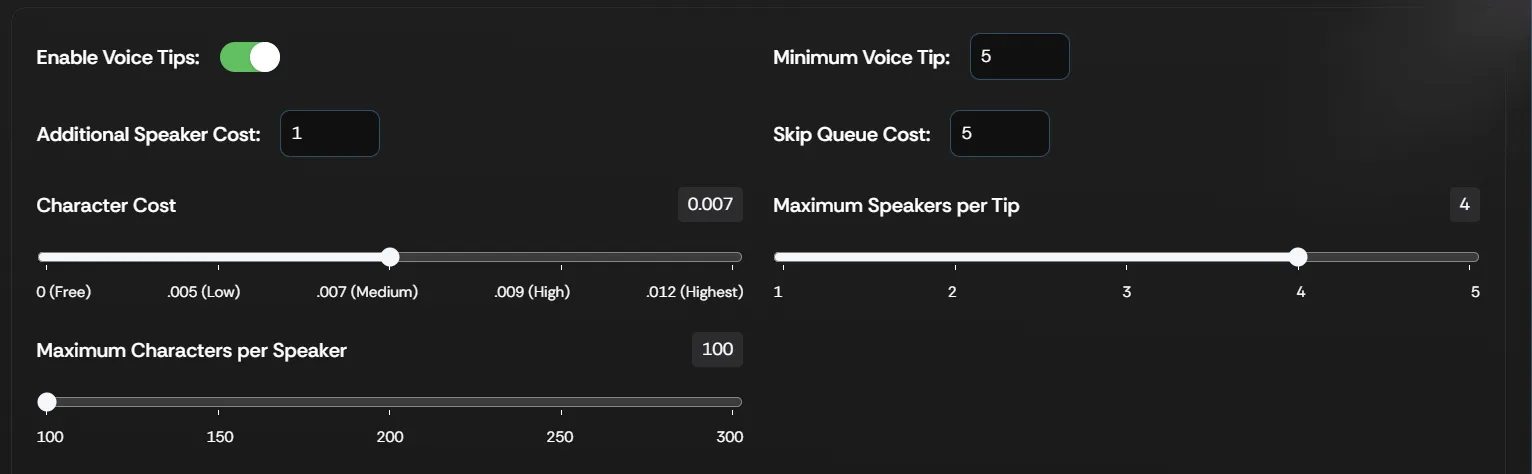
Voice tip settings
Section titled “Voice tip settings”| Setting | What it does |
|---|---|
| Enable Voice Tips | Enables or disables the ability for viewers to purchase voice tips. |
| Minimum Voice Tip | The minimum dollar amount viewers must spend to submit a voice tip. The floor is $5. |
| Additional Speaker Cost | The dollar amount you charge for each additional speaker a viewer adds to their voice tip, from $1. |
| Skip Queue Cost | The dollar amount you charge for viewers to skip to the top of the unplayed tip queue, from $5. |
| Character Cost | Use the slider to set how much you charge the viewer per text character (letters, numbers, punctuation) entered into the voice tip message box, up to $0.012 per character. |
| Maximum Speakers per Tip | Use the slider to set how many speakers a voice tip can use, from 1 to 5. |
| Maximum Characters per Speaker | Use the slider to set how many characters viewers can type per speaker, from 100 to 300 in 50-character increments. |
Speaker Management
Section titled “Speaker Management”You can enable and disable the speakers available to viewers using the toggle next to each speaker’s image and name. This works for both the default speakers and any custom speakers you have added to Your Speaker Slots.
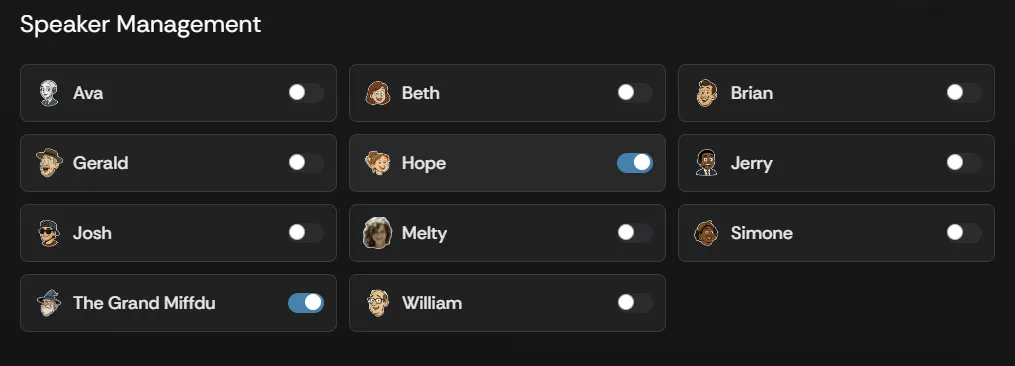
To open Speaker Management, go to the Creator Dashboard and select Settings > Voice Tips.
Custom Speakers
Section titled “Custom Speakers”Your Supertip account comes with three speaker slots where you can create your own custom speakers. You can buy more slots by selecting the Purchase Additional Slot button — purchased slots are a recurring subscription.
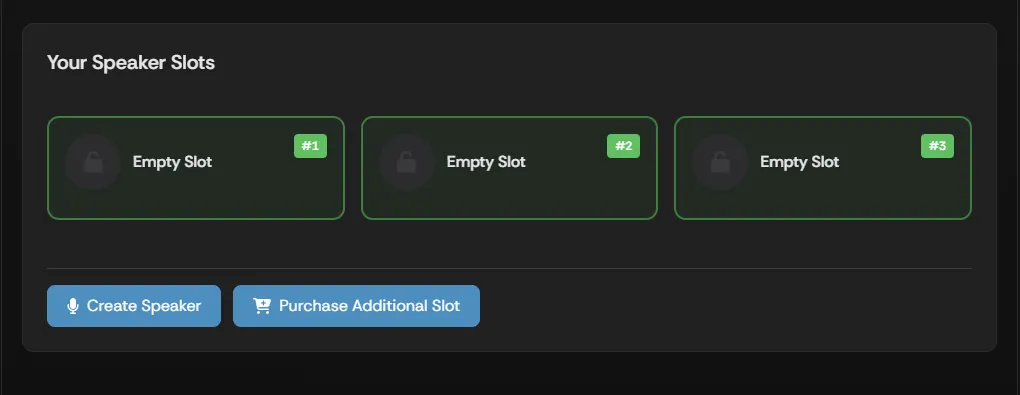
To open Your Speaker Slots, go to the Creator Dashboard and select Settings > Voice Tips.
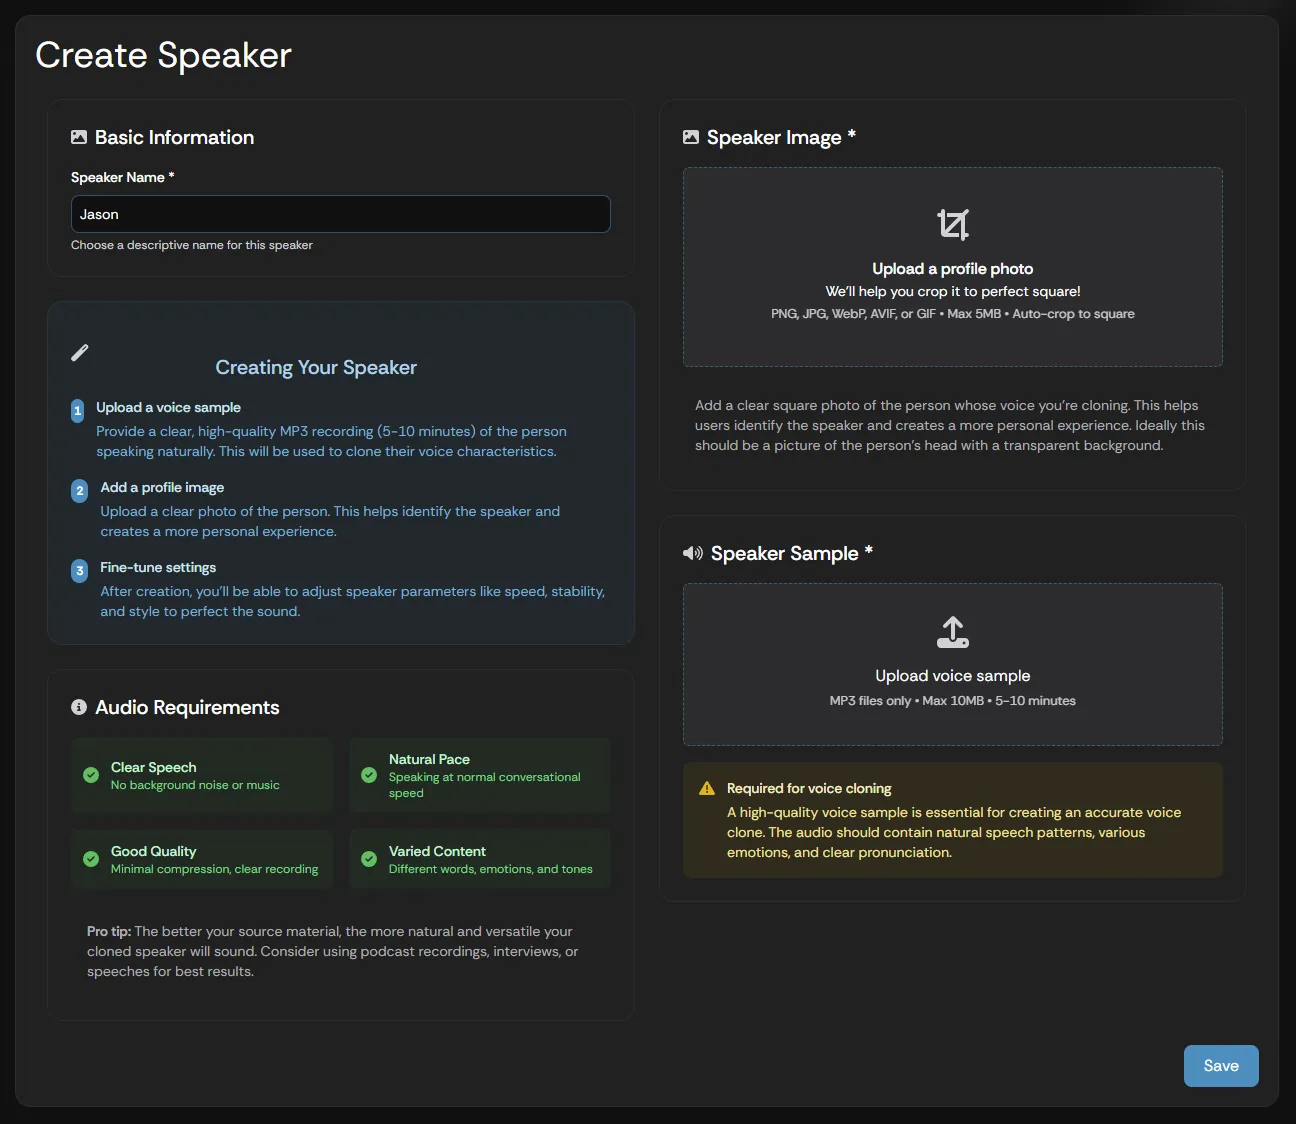
To create a new custom speaker:
- Select the Create Speaker button in the Custom Speakers section.
- Enter a name for your speaker in the Speaker name text box.
- Select Upload a profile photo and choose the image you want to represent your speaker. This image is used as an avatar for the speaker.
- Drag the cropping area to select the part of the image you want to use, then select Apply Crop.
- Select Upload voice sample and locate the MP3 audio file for the voice you want to create.
- Tick the consent checkbox to confirm you have all rights, permissions, and consents needed to clone the voice lawfully — the create button stays disabled until you do.
- Select the Create speaker button.
Managing your speaker slots
Section titled “Managing your speaker slots”Each slot in Your Speaker Slots has controls for the speaker and, for purchased slots, its subscription:
- Move — relocate a speaker to another slot. After selecting Move, choose Move Here on an empty slot or Swap with This Slot on an occupied one, or select Cancel Move.
- Manage Payment — opens Stripe to update the payment method for a purchased slot.
- Cancel Subscription — cancels a purchased slot’s subscription. The slot stays usable until the end of the paid period, and you can select Reactivate to keep it active before it lapses.
- If a slot’s payment fails, it enters a grace period — a warning shows on the slot until the payment method is fixed.
Editing Your Speakers
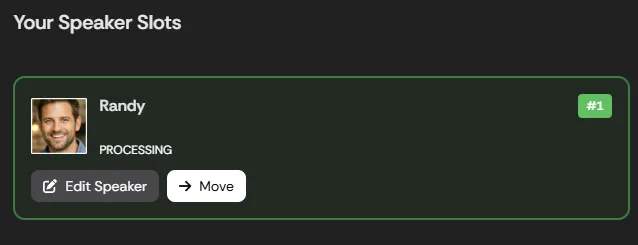
Section titled “Editing Your Speakers”Once a speaker has been created and approved, you can control aspects of the speaker’s voice and update its display settings. To open the Edit Speaker settings, scroll to the bottom of the Voice Tips page and select the Edit Speaker button under the speaker you want to edit in the Your Speaker Slots section.
Profile
Section titled “Profile”Speaker name — Use this text box to update the name of the selected speaker.
Speaker Parameters
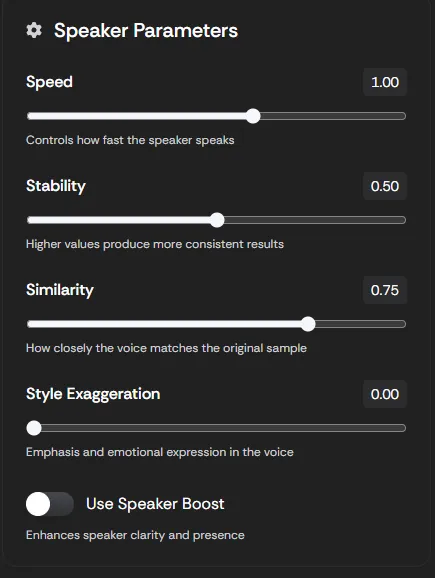
Section titled “Speaker Parameters”The following settings fine-tune how your speaker sounds — how fast it reads, and how consistent, close to the original sample, and expressive the voice is.
| Parameter | What it does |
|---|---|
| Speed | Use the slider to adjust how fast the speaker reads the text entered by the viewer. |
| Stability | Use the slider to adjust the emotional range and consistency of the audio, from monotone (high stability) to highly expressive (low stability). |
| Similarity | Use the slider to adjust how closely the voice matches the original voice sample you used. |
| Style Exaggeration | Use the slider to adjust the emotional inflection, tone, and unique characteristics of the voice, making it more dramatic or expressive. |
| Speaker boost | Toggle to enhance the speaker’s clarity and presence. |
Preview speech
Section titled “Preview speech”The Preview speech tool lets you hear how your speaker sounds.
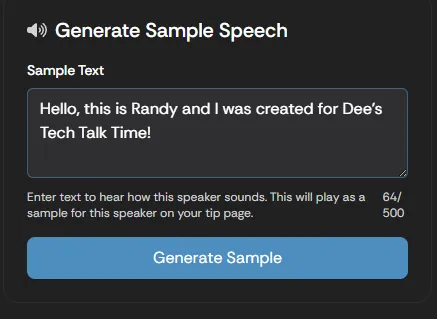
- Enter the text you would like the speaker to say in the Sample text box.
- Select the Generate sample button.
- The sample audio is generated and plays automatically. To hear it again, select the play button under Speaker Sample.
Speaker Image
Section titled “Speaker Image”The Speaker Image acts as an avatar for your speaker. It appears on your Supertip page for viewers to select when using voice tips.
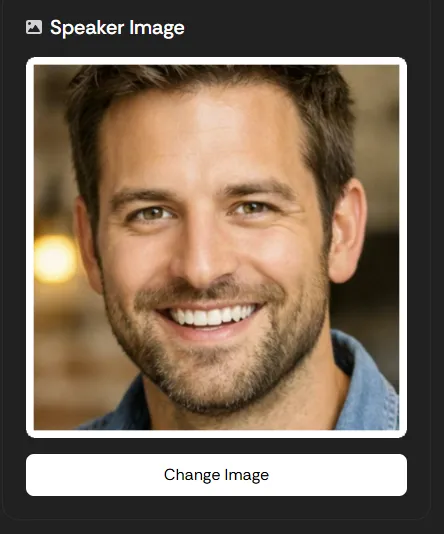
To change your speaker’s image:
- Select Change.
- Select the image file you want to use for your speaker.
- Drag the cropping area to select the part of the image you want to use, then select Apply Crop.
Once you have made all your updates, select the Save button to keep your changes.
Deleting Speakers
Section titled “Deleting Speakers”You can delete the selected speaker by selecting the Delete button. The speaker is removed from Your Speaker Slots and that slot becomes available again for a new voice.