
Overlay Setup
There are several ways to display Supertips on your stream. This article walks through the most common ways to configure the Supertip overlay in your preferred streaming software — OBS Studio, Evmux, and Streamyard.
Every method uses a per-overlay URL, which you copy from the Copy URL button under Settings > Overlay in your Creator Dashboard. Each overlay you build has its own URL — copy the one for the overlay profile you want to use.
OBS Studio overlay setup
Section titled “OBS Studio overlay setup”If you use OBS Studio you can quickly configure the Supertip overlay.
To add a Supertip overlay to your OBS stream:
-
Open OBS Studio with the scene you want to use.
-
Access your Supertip Creator Dashboard in a browser window.
-
Select Settings.
-
Select Overlay.
-
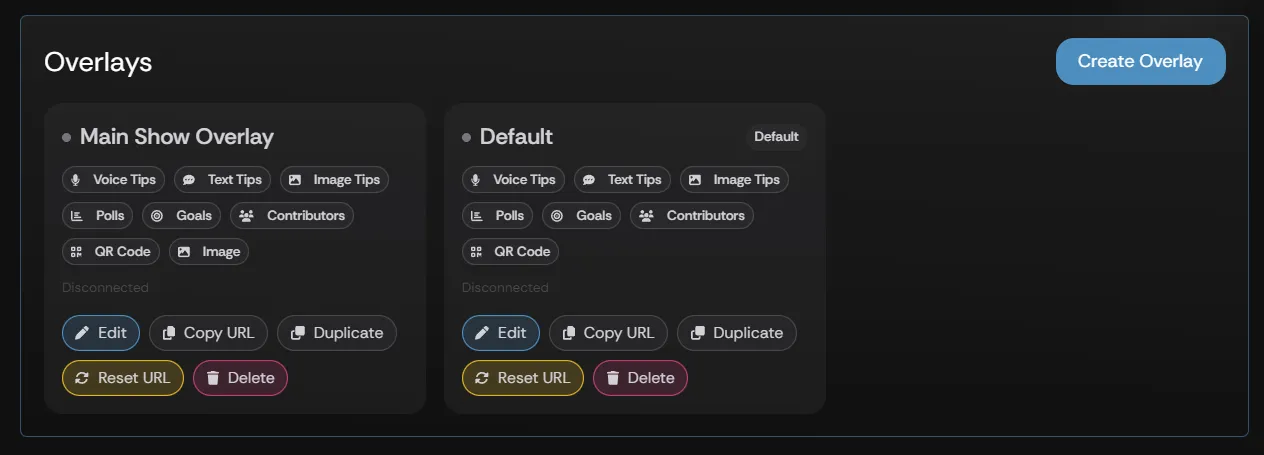
In the Overlays section, select the Copy URL button on the overlay profile you want to use.
-
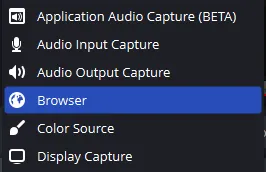
In OBS Studio, add a new source by selecting the plus button under Sources.
-
Select Browser.
-
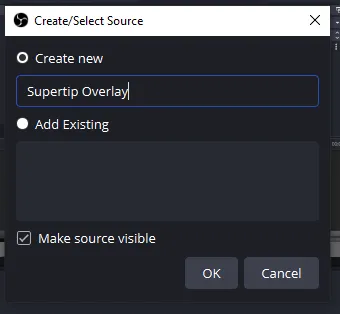
Select the Create New radio button.
-
Enter a name such as “Supertip Overlay” into the text box under the Create New selection.
-
Select OK.
-
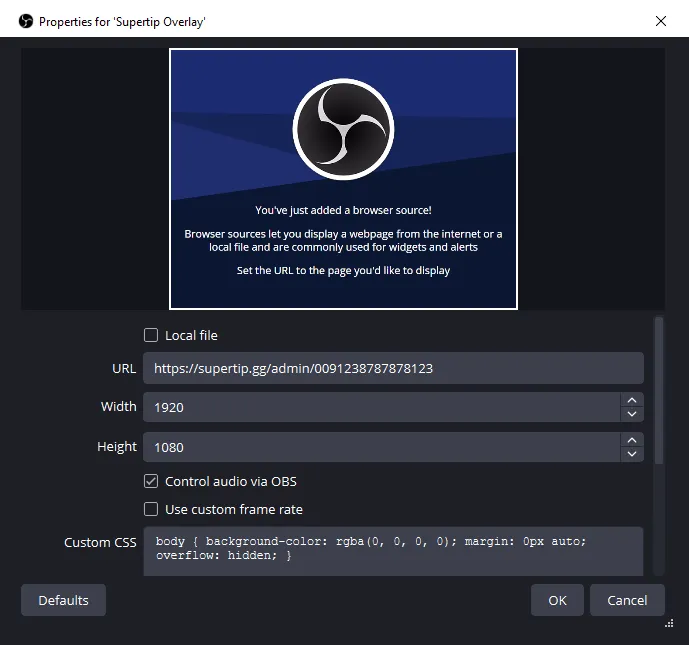
Paste the overlay URL you copied from your Supertip overlay settings into the text box beside URL.
-
Enter 1920 in the Width text box.
-
Enter 1080 in the Height text box.
-
Check the box beside Control audio via OBS.
-
Select OK.
Evmux overlay setup
Section titled “Evmux overlay setup”Evmux users can add the Supertip overlay directly as a web source.
To add a Supertip overlay to Evmux:
-
Open your Evmux Live Studio in a browser window, with the scene you want the Supertip overlay to appear in.
-
In another browser window, open your Supertip Creator Dashboard and select Settings.
-
Select Overlay.
-
In the Overlays section, select the Copy URL button on the overlay profile you want to use in your Evmux scene.
-
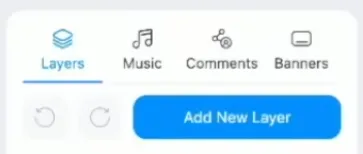
In your Evmux window, select Layers.
-
Select Add New Layer.
-
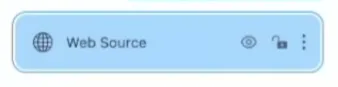
Select Web Source.
-
With the Web Source selected, click the gear icon shown in your preview window.
-
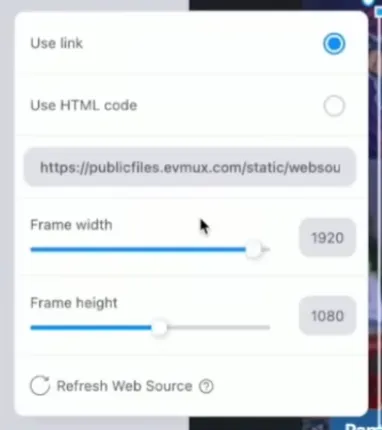
With Use link selected, paste the overlay URL you copied from your Supertip overlay settings into the text box.
-
Set the Frame width to 1920 using the slider or text box.
-
Set the Frame height to 1080 using the slider or text box.
Streamyard overlay setup
Section titled “Streamyard overlay setup”If you use Streamyard, you can add the Supertip overlay through OBS Studio. There are a couple of ways to configure Streamyard to use a Supertip overlay.
Streamyard with OBS Studio and a RODECaster
Section titled “Streamyard with OBS Studio and a RODECaster”To add a Supertip overlay to Streamyard with OBS Studio and a RODECaster:
- Configure OBS Studio using the steps in the OBS Studio overlay setup section above.
- Under the Controls section in OBS, select Start Virtual Camera.
- Open Streamyard and enter your studio.
- Select Settings.
- Select Camera.
- From the Camera drop-down, select OBS Virtual Camera.
- Select Audio.
- From the Mic drop-down, select the RODECaster Chat you use.
- From the Speaker drop-down, select the RODECaster Chat you use.
- Create your Display name and select Enter Studio.
Streamyard with OBS Studio and VB-CABLE (advanced option)
Section titled “Streamyard with OBS Studio and VB-CABLE (advanced option)”To add a Supertip overlay to Streamyard using OBS Studio and VB-CABLE:
- Install VB-CABLE from vb-audio.com/Cable.
- Open OBS Studio and select Settings.
- Select Audio.
- In the Advanced section, select VB-CABLE from the Monitoring Device drop-down.
- Open your Streamyard studio and select Settings.
- Select Audio.
- From the Mic drop-down, select VB-CABLE.